We know how elegant and effortless ballet dancers should look, and so much of that balance comes from how to tie pointe shoes securely. If you want to do ballet, you have to be able to handle your shoes.
Fortunately, it is not a formidable challenge.
Basically, it depends on the type of ribbon you choose. For two ribbons, you can start either from the outside or inside ribbon. For the one-loop type, you can sew infinite-loop ribbons.
Read on, we’ll show you how to do it. You will be a professional in no time!
Table of Contents
How To Tie Pointe Shoes With Two Ribbons
Method 1. Tie from the outside ribbon
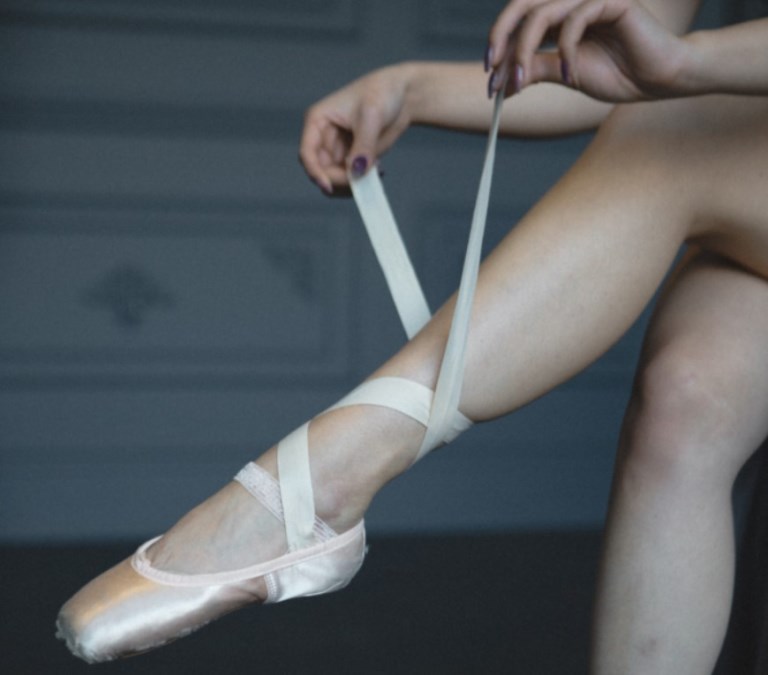
- Wear your pointe shoes. Start wrapping a ribbon that is on the outside of your foot. Pulling it slightly and firmly above your ankle bone.
- Wrap it around the back to the other side of your foot, but not too high, around your ankle.
- Thread the ribbon slightly through the top ribbon that you have just wrapped. Place the knot underneath the top ribbon to keep it secure.
- Continue with the other ribbon to make a cross in front of your foot. Pull it around the other side of your foot.
- Loop the ribbon two times around your ankle and let it meet your first ribbon.
- Create two ties to make a small knot. Hide the knot underneath the two ribbons. The knot should be placed in a soft place between your ankle bone and your protrusion and in front of your Achilles tendon.
For satin ribbons, after making a knot, fold and roll the ribbons and tuck them under the ribbons around your ankle.
Method 2. Tie from the inside ribbon
- Take a ribbon from the inside of your foot and wrap it 1.5 times around your ankle.
- Take the other ribbon, and wrap it 1.5 times around your ankle, overlapping the first one.
- Make a knot, then tuck it underneath the two ribbons. The knot should be in a soft spot between your ankle bone and your Achilles tendon so that when you slide your feet up and down, your legs can’t hit the knot.
Check more: How To Sew Pointe Shoes?
How To Tie Pointe Shoes With One Long Looped Ribbon
- Keep the ribbon untangled and untwisted, and separated from the elastic band. Crisscross the ribbon on the top of your shoe.
- Turn the shoe over and make a second crisscross underneath the shoe.
- Bring the big loop that you have created on the top of your shoe. Stop here if you aren’t about to wear your shoes.
- Wear your toe pad on. Then, slide your feet into the shoes, under all elastic and ribbons. You don’t have to pull the elastic ribbons into place at this step.
- Pull the ribbons up over your heel, and keep them untwisted and straight.
The ribbons should be comfortable, untangled, and flat around your ankle. Plus, your feet should be stretched and flexed.
After taking off the shoes, you should store them in a breathable bag to maintain a constant fresh air flow.
You’ll love: 15 Best Ballet Books for Adult & Toddler Dancers
Some Useful Tips When Tying
First, the ribbon knot should be placed between your Achilles tendon and your ankle bone so that it can’t rub your skin.
Second, you should make a square or flat knot to prevent it from being undone.
Third, you can secure the satin knot by sewing it with several stitches. Or, you can switch to elastic ribbons for better comfort.
And last, you can reuse the old ribbon on your new shoes, but not your elastic band as it can be stretched out with wear.
Final Words
Knowing how to tie your pointe shoes is a key skill that every dancer should know to make the shoes well-supported and tight when making steady movements.
If you are a starter, you can start tying ribbons from the outside or inside. Yet, you can switch to tying the long looped elastic ribbon to save time for wearing shoes.
Have fun and enjoy!